MCL Heating Ltd is a registered Hetas installer.
![]()
Deciding on installing a wood burning stove
When having a wood burning stove installed, there may be one or two considerations to take into account.
Do I have a suitable chimney stack built into the house, can I have a stove without one and is the fireplace large enough to take the stove I want.
Existing internal chimney stack
Where a house already has a traditional built in chimney stack, the procedure for installing a stove, is generally straight forward. After an inspection of the chimney flue to check for it’s internal condition, the flue will be swept in preparation for the liner.
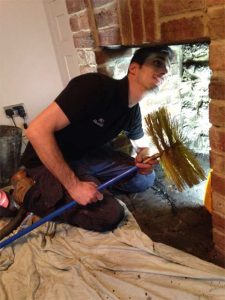

Installing the flexible flue liner down the chimney.

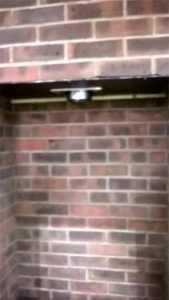
Register plate fitted and coupled to flue liner, waiting to be connected to the stove.
Register plate painted to match stove.
‘COSY’
House without a built in chimney stack
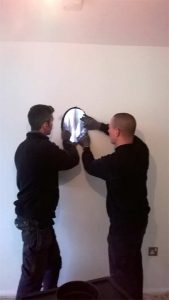
If there is no chimney stack already in the building, a twin walled exterior flue is a alternative option, with the stack running on the outside of the building. Firstly a hole is bored through the outer wall to gain access to the room.
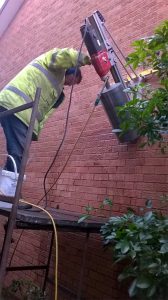
The water cooled diamond core drill will cut a hole at 45 degrees through the cavity wall,
into the room where the stove is to be sited.
The new opening is then lined with a stainless steel sleeve, ready to take the twin wall pipe.
Next comes the installation of the twin walled pipe system, which attaches to the side of the house with various supports and brackets. This pipework is available in either a Stainless steel finish or powder coated black and will finish above the roof ridge.
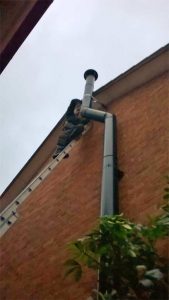
The completed external twin walled pipework, with offset bends, allowing clearance to soffit and fascia boards.
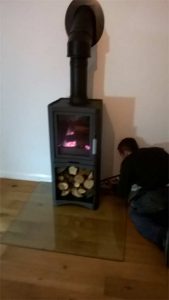
This stove sits on a glass plate hearth, over a laminate floor.
This following example is again an exterior twin walled system, but this time having the hearth built on the outside of the house, so the stove does not intrude into the room, taking up vitally required space.
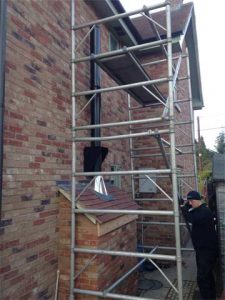

All exterior brickwork completed, with appropriate lead flashing to tiling and pipework.
Wood burning stove set on a tiled hearth. ‘COSY’
Fireplace place opening and Hearth
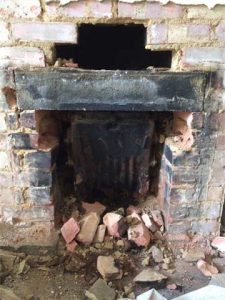
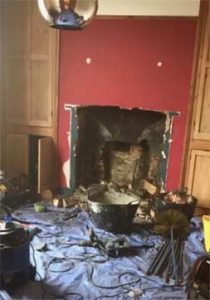
If an existing fire place is not large enough, the chimney breast will need to be opened up to accommodate the chosen height of the stove.
The old fireplace in the process of being opened up, exposing the original lintel.
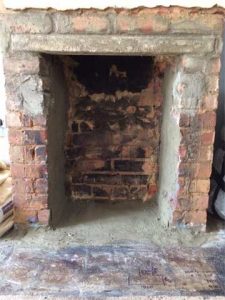
The new fireplace opening, built to the required size, with replacement concrete lintel in place ready for cement rendering, plastering and tiled hearth.
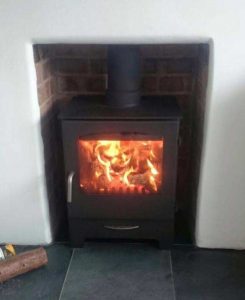
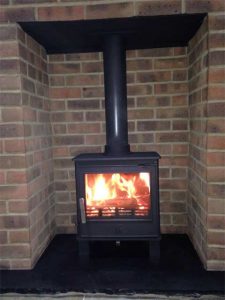
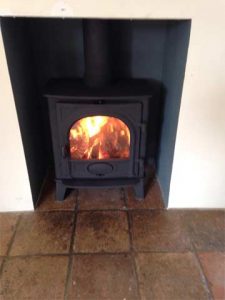
The finished fireplace with Slate tiled hearth and new stove. ‘ COSY ‘
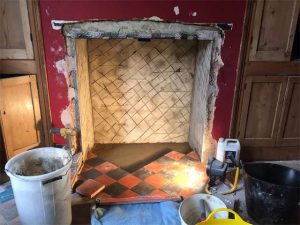
Old fireplace opening being enlarged and quarry tiling taken into old hearth. Scored cement render coat, awaiting final smooth coat render finish.
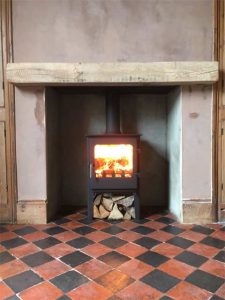
Finished fireplace with reclaimed Oak beam mantle piece and log burner with built in log store beneath. ‘COSY’
Alternative sites for your log burning stove
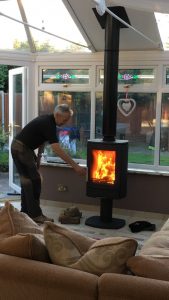
Not all wood burning stoves are fitted into fireplaces. Conservatories can get cold too. ‘COSY’
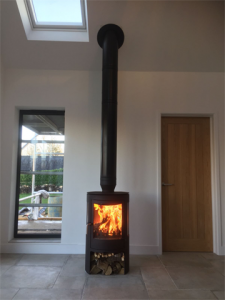
Free standing Town & Country Langdale stove on a twin wall system with log store.
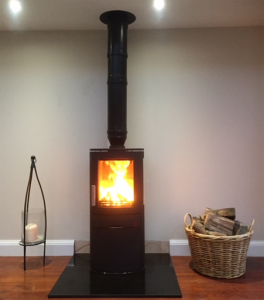
Free standing Twin wall system with ACR NERO stove on slate hearth.
![]()